Photography and Videography
It's the Little Things: Macro Photography
Macro photography can open up a whole world that's hiding right in front of you: lenses, extension tubes, focus and lighting.
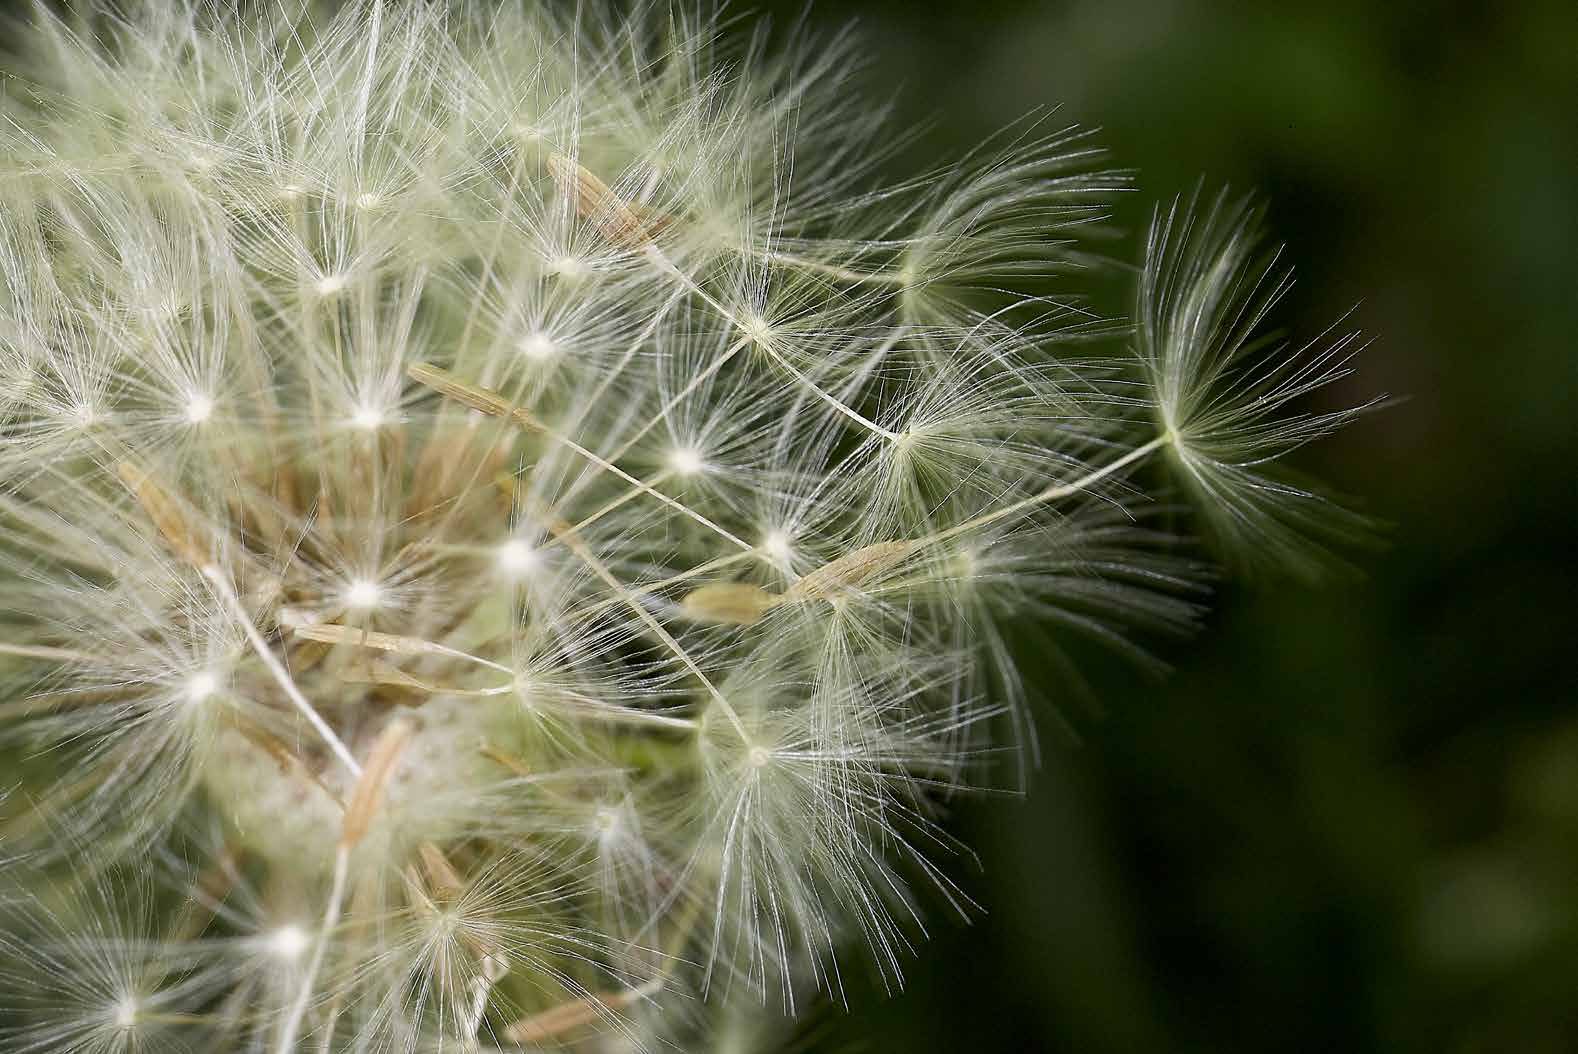
My introduction to “real” macro photography came more than a decade ago when I was reviewing the Canon MP-E 65mm F/2.8 1-5x Macro lens and Canon’s macro strobe setup. I had shot macro before, but this was my first time shooting with a lens that captured images greater than life-size, and it was a mesmerizing experience.
I remember buying flowers so that I’d have a steady object to practice with, and I set them out on the dining room table in a nice sunny spot. At first, I took some images at the least magnified setting, the 1x power, and the images were lovely. With the Canon strobe system and some tinkering, I could really control focus and background lighting, and I took some nice photos.
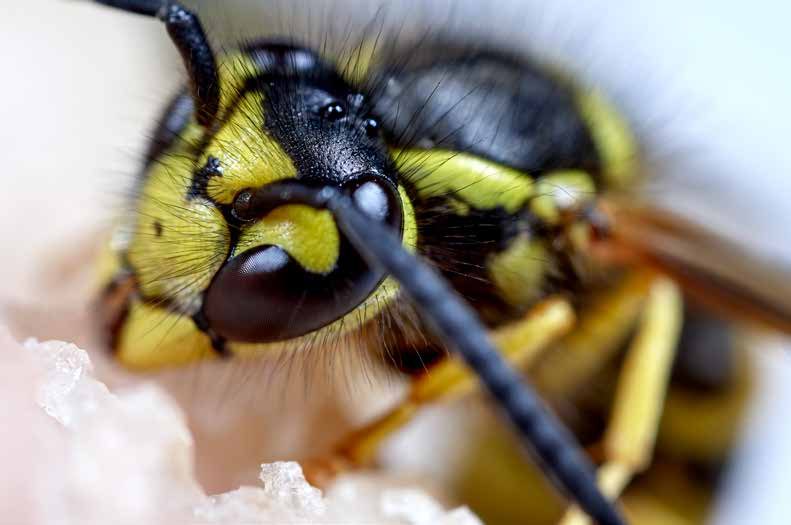
After a few minutes of getting acquainted with the gear, I cranked up the magnification, and somewhere around 3x a whole world exploded in front of my eyes. I could see the grains of pollen on a flower’s stamen, the intricate pattern of cells that make up the petals, blemishes that rippled with colors. Each individual frame was an entire hidden universe of texture and colors. Soon I took the gear outside and began photographing blooming flowers, drops of rainwater and the creepy eyes of spiders.
It was the insect kingdom that fascinated me the most. We think of bugs as being small and insignificant, but at their own scale they’re majestic and beautiful, and it’s hard not to marvel at their creation and wonder how something as intricate as a housefly came to be.
Macro photography isn’t all done at the microscopic—in fact, I refer to my favorite type of macro work as “hyper-macro”—and it’s not all about detail and resolution. Some great macro work is a study in colors and vibrancy, while others prefer to capture the macro world as a form of abstract art.
No matter the type of macro photography you explore, capturing images at a small scale can help you learn to take better photos at our own level of magnification. Once you learn to see the details in a tiny scene, and once you master the tricks to compose and to light it, you’ll realize those same things apply to any other type of photography.
Defining Macro
Technically, many lenses marketed as being “macro” are really “close-up” lenses, in that they allow the camera to focus at distances much closer than a typical lens. A lens doesn’t truly function as a macro lens until it’s able to resolve images at life-size, also referred to as a 1:1 ratio. While this might seem like a confusing term, it’s actually simple. At 1:1, the size of the object you’re photographing is equal to the amount of space it takes up on the sensor. Photograph a fly that’s 30mm high, and it would take up 30mm of sensor space.
I like to think of this by picturing a movie screen and imagining that it’s the sensor in a really big camera. If you walked up to the sensor and stood directly against it, you’d appear life-sized. One six-foot person would appear six feet tall on the screen. Walk to the back of the theater, though, and you’d start to appear smaller, relative to the view from the screen. There would be less detail available because you’re harder to see.
That Canon 65mm 1x-5x lens that got me hooked on macro? It resolves up to 5:1, meaning that six-foot-tall person on that movie screen would appear 30-feet tall. If you think of a movie like Star Wars, where Darth Vader occupies the majority of a frame—and how much detail you can see—you can imagine what it’s like to photograph bugs or parts of flowers at that scale.
The takeaway here is that a real macro photographer needs a macro lens, and that’s a lens that resolves to 1:1 or better. Macro lenses come in a variety of focal lengths, usually ranging from around 65mm out through 200mm. The shorter the focal length, the closer you need to be to your subject to maintain that 1:1 ratio. If a 1:1 macro lens is listed as having a nine-inch minimum focal distance, then the lens needs to be nine inches away to be at 1:1.
Just like with portraits, the focal length affects the way the image looks—a telephoto lens will “compress” the foreground and background just as it would normally, and just like with regular-sized photography, the aperture determines the background blur. That said, many macro lenses have critical focus areas of millimeters, or a fraction of a millimeter, so the effect of the ƒ-stop for focus blur is magnified as well.
Extending The Glass
Another way to get a macro image is to take a normal lens and add an extension tube—a glass-free tube the same width as a normal lens, which moves the standard lens away from the sensor, and I like to think of those elementary-school circular magnifying glasses we all used in science. Hold a magnifying glass right up to a bug and the bug appears life-size or slightly bigger. Move the magnifying glass away from the bug and it starts to look bigger and bigger. That’s the same thing that happens when you use an extension tube with a standard lens.
This is a cheap and easy way to get into macro photography, as you don’t need to purchase any additional equipment aside from the extension tube (see the equipment guide for tips on buying extension tubes). The disadvantage is that by moving the lens away from the sensor you lose some light, which results in some loss of image quality. Extension tubes are a great place to start, but if you really like macro photography, it’s a good idea to invest in a good macro lens.
Flip It Around
Another way to create a macro lens is to take a standard lens and mount it to the camera so that the front element points toward the sensor using a reverse-mount adapter ring sized for the thread size of your lens and the mount for your camera. By reversing the optics, you’re turning your camera into a microscope, and you can even mount several lenses together to create images up to around 3x life-size.
This might be a good way to see if you’re into hyper-macro photography, but it’s a cumbersome technique and leaves the lens open to the elements.
Focus
An important consideration when shooting macros is the use of autofocus. Many macro lenses, especially those at longer focal lengths, benefit from having autofocus capabilities. It’s great to lock onto a butterfly gathering pollen on a plant without having to manually adjust the focus.
For closer work, though, many people shoot in manual focus and use minute adjustments of the distance between the lens and the subject to change the critical focus area. When shooting insects outdoors, I try to slowly sway toward them, because insects are less frightened of something that moves like a blowing branch than something like the sound of an autofocus motor. (You’d be surprised at the things that insects hear that we don’t.)
There’s nothing wrong with using autofocus when shooting macro, but try to shoot manually to get the feeling of the amount of accuracy available when you’re directly picking the focus point.
Screening Exam
For a very long time I shot macros with a DSLR, and I’ve spent a lot of time laying on the ground, bending over the top of a plant and crouching occasionally to check focus. These days I tend to shoot with a mirrorless system, or shoot my DSLRs in Live View mode, as the ability to compose and evaluate a scene using a pivoting LCD screen means fewer shoots spent laying in the underbrush. The focus-assist modes on many mirrorless cameras are particularly handy when shooting macros, as they’ll illuminate the in-focus part of the shot and magnify the image during manual composition.
Lighting
An issue of great importance in macro photography is lighting, and the importance of your lighting increases along with magnification. Macro photography needs a lot of light, especially as you start to stop down to increase depth of field. You can photograph flowers in bright sun with a macro lens, but as you get right near 1:1, light falls off very quickly. As you move closer to an object to photograph it, you’re also more likely to get in the way of the light source and cast your subject into shadow. Above 1:1, and you need a very large amount of light to create an evenly illuminated scene.
The best lighting for macro photography is a macro-sized ring light or macro setup with dual flashes that can be rotated around a ring that attaches to the front of a lens. This allows the photographer to angle the light in order to create different looks, and to create fill flash at a macro scale.
As LEDs become more common, I’ve started to carry a few different lights with me for macro shoots. I have a variety of penlight-sized lights to throw light on small surfaces, as well as LED headlamps to help me illuminate something by pointing my head at it. I’ve also used the Westcott Ice Light, a handheld LED, during macro photography sessions, as I can hold it with one hand while I compose with another.
A Little Word
Macro photography is a great, calming break from “traditional” photography, and practicing macro photography will make you a better photographer. It’s a small world after all.